Using the Registration Form System
The Donor Wrangler registration form system is a powerful tool that helps you not only register attendees for an event, but also collect information that you would normally gather on paper. This article will guide you step by step on how to create a form for a theoretical 5k and Fun Run fundraiser. However, the principles can be used for any event or any other type of signup form.
Step 1: Create the Form
If your account has the permission to View Forms, you will find this functionality in the menu under Reports and Data -> Forms. On this page, press the Add Form button in the upper right. This is the first step, and we’ll walk through it together.
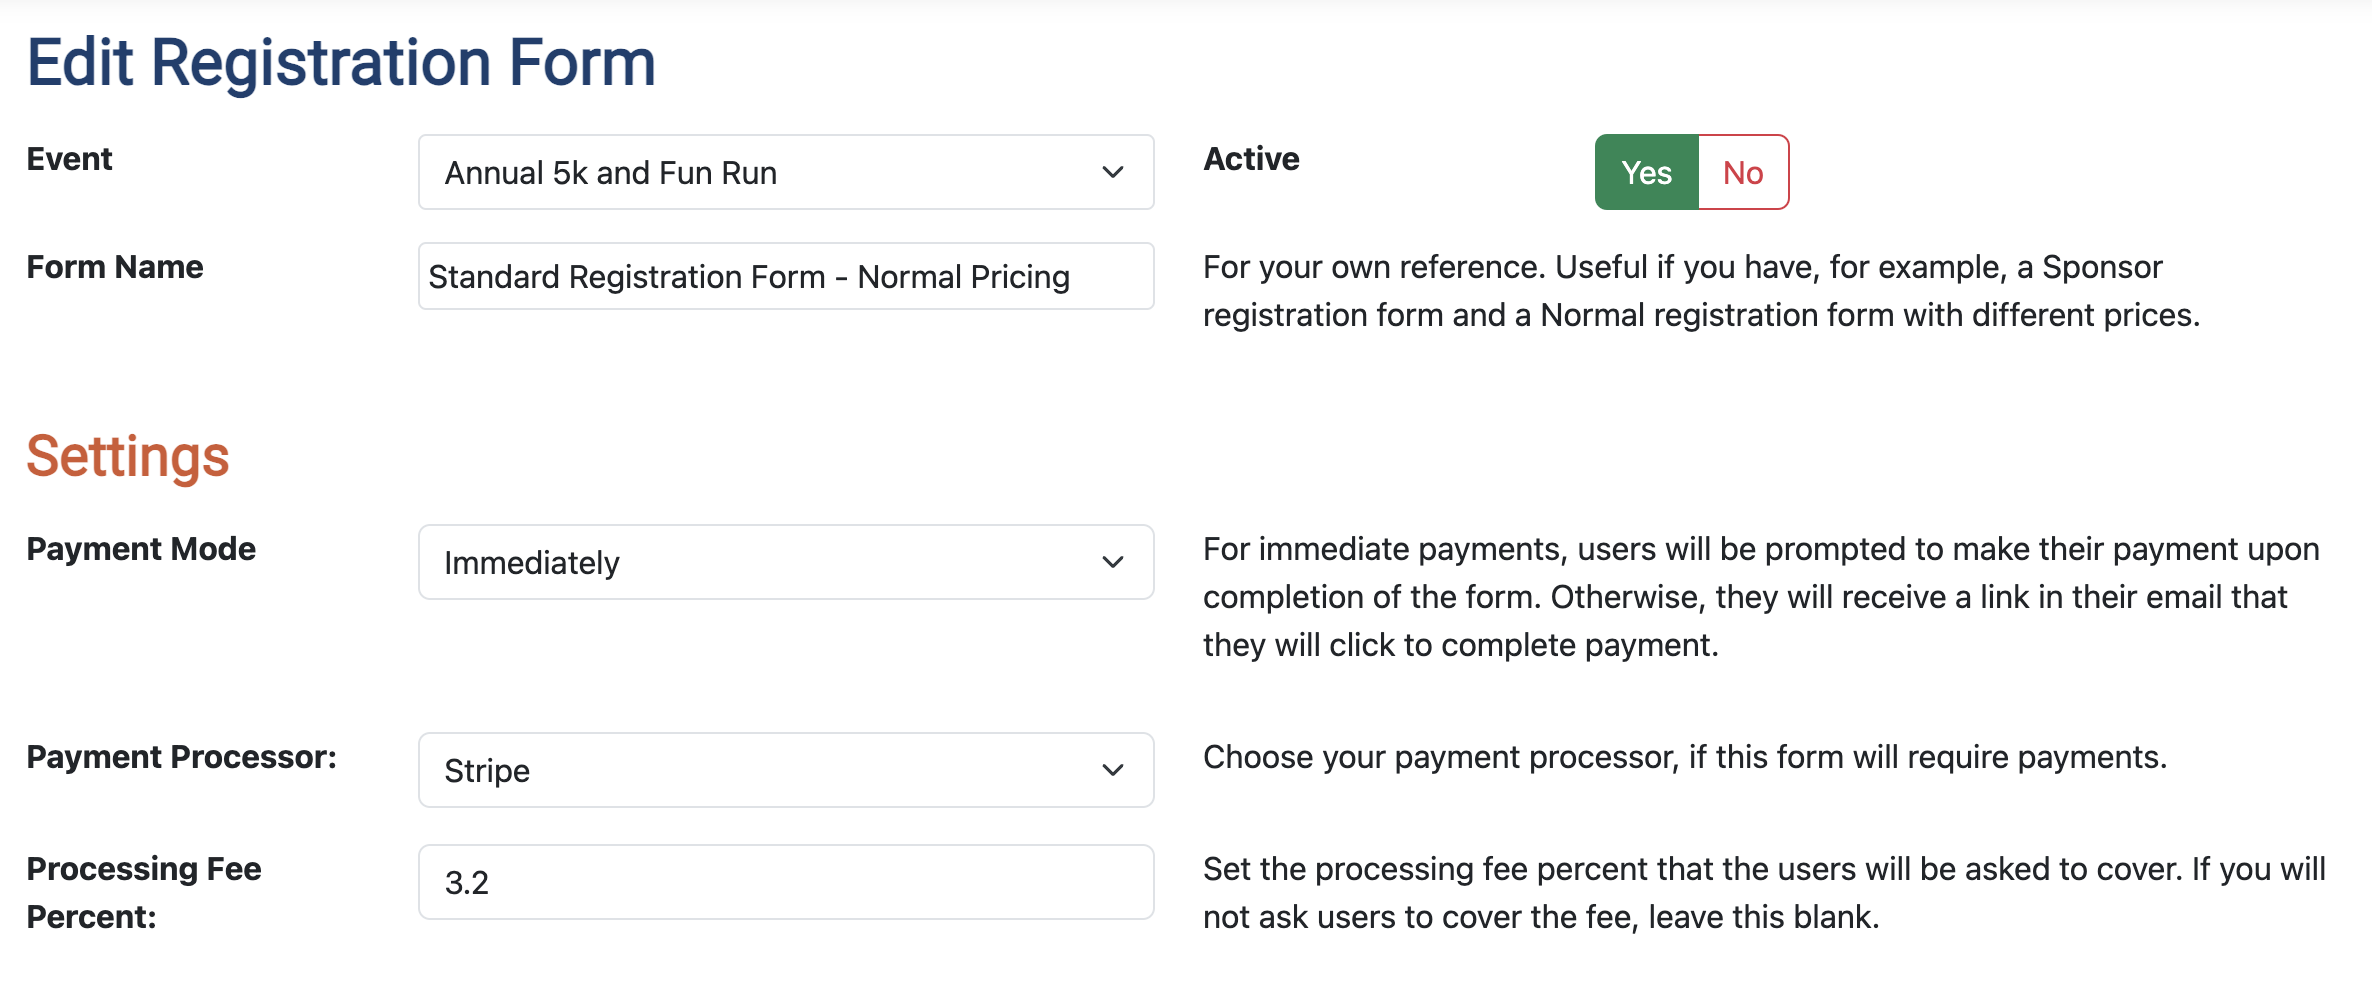
The first few fields are fairly standard, but a few notes:
- Active indicates that the form is accepting new entries. Once an event has passed, or if you have a special registration form with different pricing that should only be active for a short period of time, set Active to No once it’s no longer accepting entries.
- Payment Mode applies only if the form has prices set. In 95% of the cases, Immediately will be used. However, for certain types of events, such as raffles, state laws may require payment to be delayed. If this is the case, you will change Payment Mode to delayed. This will send the registrant an email with a link they will click to pay and complete their registration.
- Processing fee amount dictates the percent that the form uses when asking the donor to cover the fee. For most Stripe users with the non-profit rate, this will be 3.2%–that’s the total fee with DW’s 1% added in. (Note that when testing a form, the fee that will be returned is based on a rate of 3.9%, so the calculation made by the system will not match the fee that is reported by the test mode payment.)
Once setting these fields, the bulk of the work that remains is setting up the various messages that are shown to the user. If you already use our Donation Forms system, this should be familiar to you. However, if this is new to you, read the descriptions to the right of each field to understand its purpose, and rest assured you’ll be able to use test mode to preview the results.
One important note, however, is that the email messages have special merge fields that you will want to add, shown in the screenshot below:

The Payment Link field should only be used if you are using the Delayed Payment form mode, and it must be inserted into the Delayed Payment email message for them to be able to complete payment. The other two fields we recommend to be inserted into the Success email message, Total Price (if the form requires payment) and Submitted Data, which will include everything the user provided into the email it generates. This will help serve as additional proof of registration.
Step 2: Create Form Entry Types
Once your new form is created, you’ll see a simple screen that shows tabs for Entry Types, Submissions, and the Change Log. An entry type can be equated to what the donor is registering for on the day of the event. In our hypothetical example, this would the choice between signing up for the Fun Run or the 5k. Another example may be a Child’s Ticket versus an Adult Ticket.
Note that if your form is allowing users to only sign up for one thing (IE an event with only an entry ticket, or a non-event related form that is collecting applications from donors to volunteer of for your organization), you will simply make one entry type.
After clicking the Add New Entry Type button, you’ll see an editor that has simple fields and questions for you to fill in. For our example, when creating our Fun Run, here’s what we may set:

This sets our price at $5, only 50 children can be registered, and no more than 5 children can be registered at a time. More importantly, though, are the Fields down below this area. These fields are the questions the registrant must answer. The editor allows you to add as many questions as you want, choose how they’re presented (IE a text input versus a dropdown), and make them required. These fields are specific to the registration type, meaning the questions you ask for the Fun Run can be different than the questions you ask for the 5k. So as an example, our fun run may have these questions:

After creating our type for our Fun Run and then our 5k, our form view now looks like this:

Step 3: Test and Use the Form
Now we can click on the Test Mode and give our form a try. In test mode, you will see the flow exactly as the user sees it and receive the emails as they will receive them, allowing you to test the experience and ensure everything is working correctly. Here’s how our form looks:

Your test entries will appear on the submissions tab like so:

Paid and unpaid entries are shown. Anyone who does not complete their payment, for whatever reason, will have their data retained so you can reach out to them and help, if needed. One important note is that the Export Entries button on the upper right allows you to export the data into a spreadsheet as you prepare for your event.
Once you’ve completed your testing, you are ready to go! By clicking the View As User button, a new window will open containing the link that you should copy/paste to use on your website, newsletter, and social media. As submissions are made, the number of remaining tickets will decrease, if there is a limit defined.
One final feature is the ability for users logged into Donor Wrangler with the Edit Forms permission, they will see this additional option appear:

This allows you to manually log offline registrations, such as paper registration forms, or register users for free (such as complementary registrations provided to sponsors).
We hope this new feature will help you to have more organized and successful events!